
DIYenny | Weekend IKEA HACK

So for a very long time I've been the not-so-proud owner of this IKEA Lack coffee table. I am an IKEA advocate for many things but for some reason this table just never gelled with me. It's not the black-brown of my IKEA pieces that are less "look-at-me-I'm-fake-wood" and more "I had to do some work but this desk/shelf set looks pretty darn good!" It just didn't blend in with my other pieces so I had always cast it out and wanted to get rid of it. That was, until I found a really great IKEA Hack idea, that would help me transform this functional yet ugly coffee table.
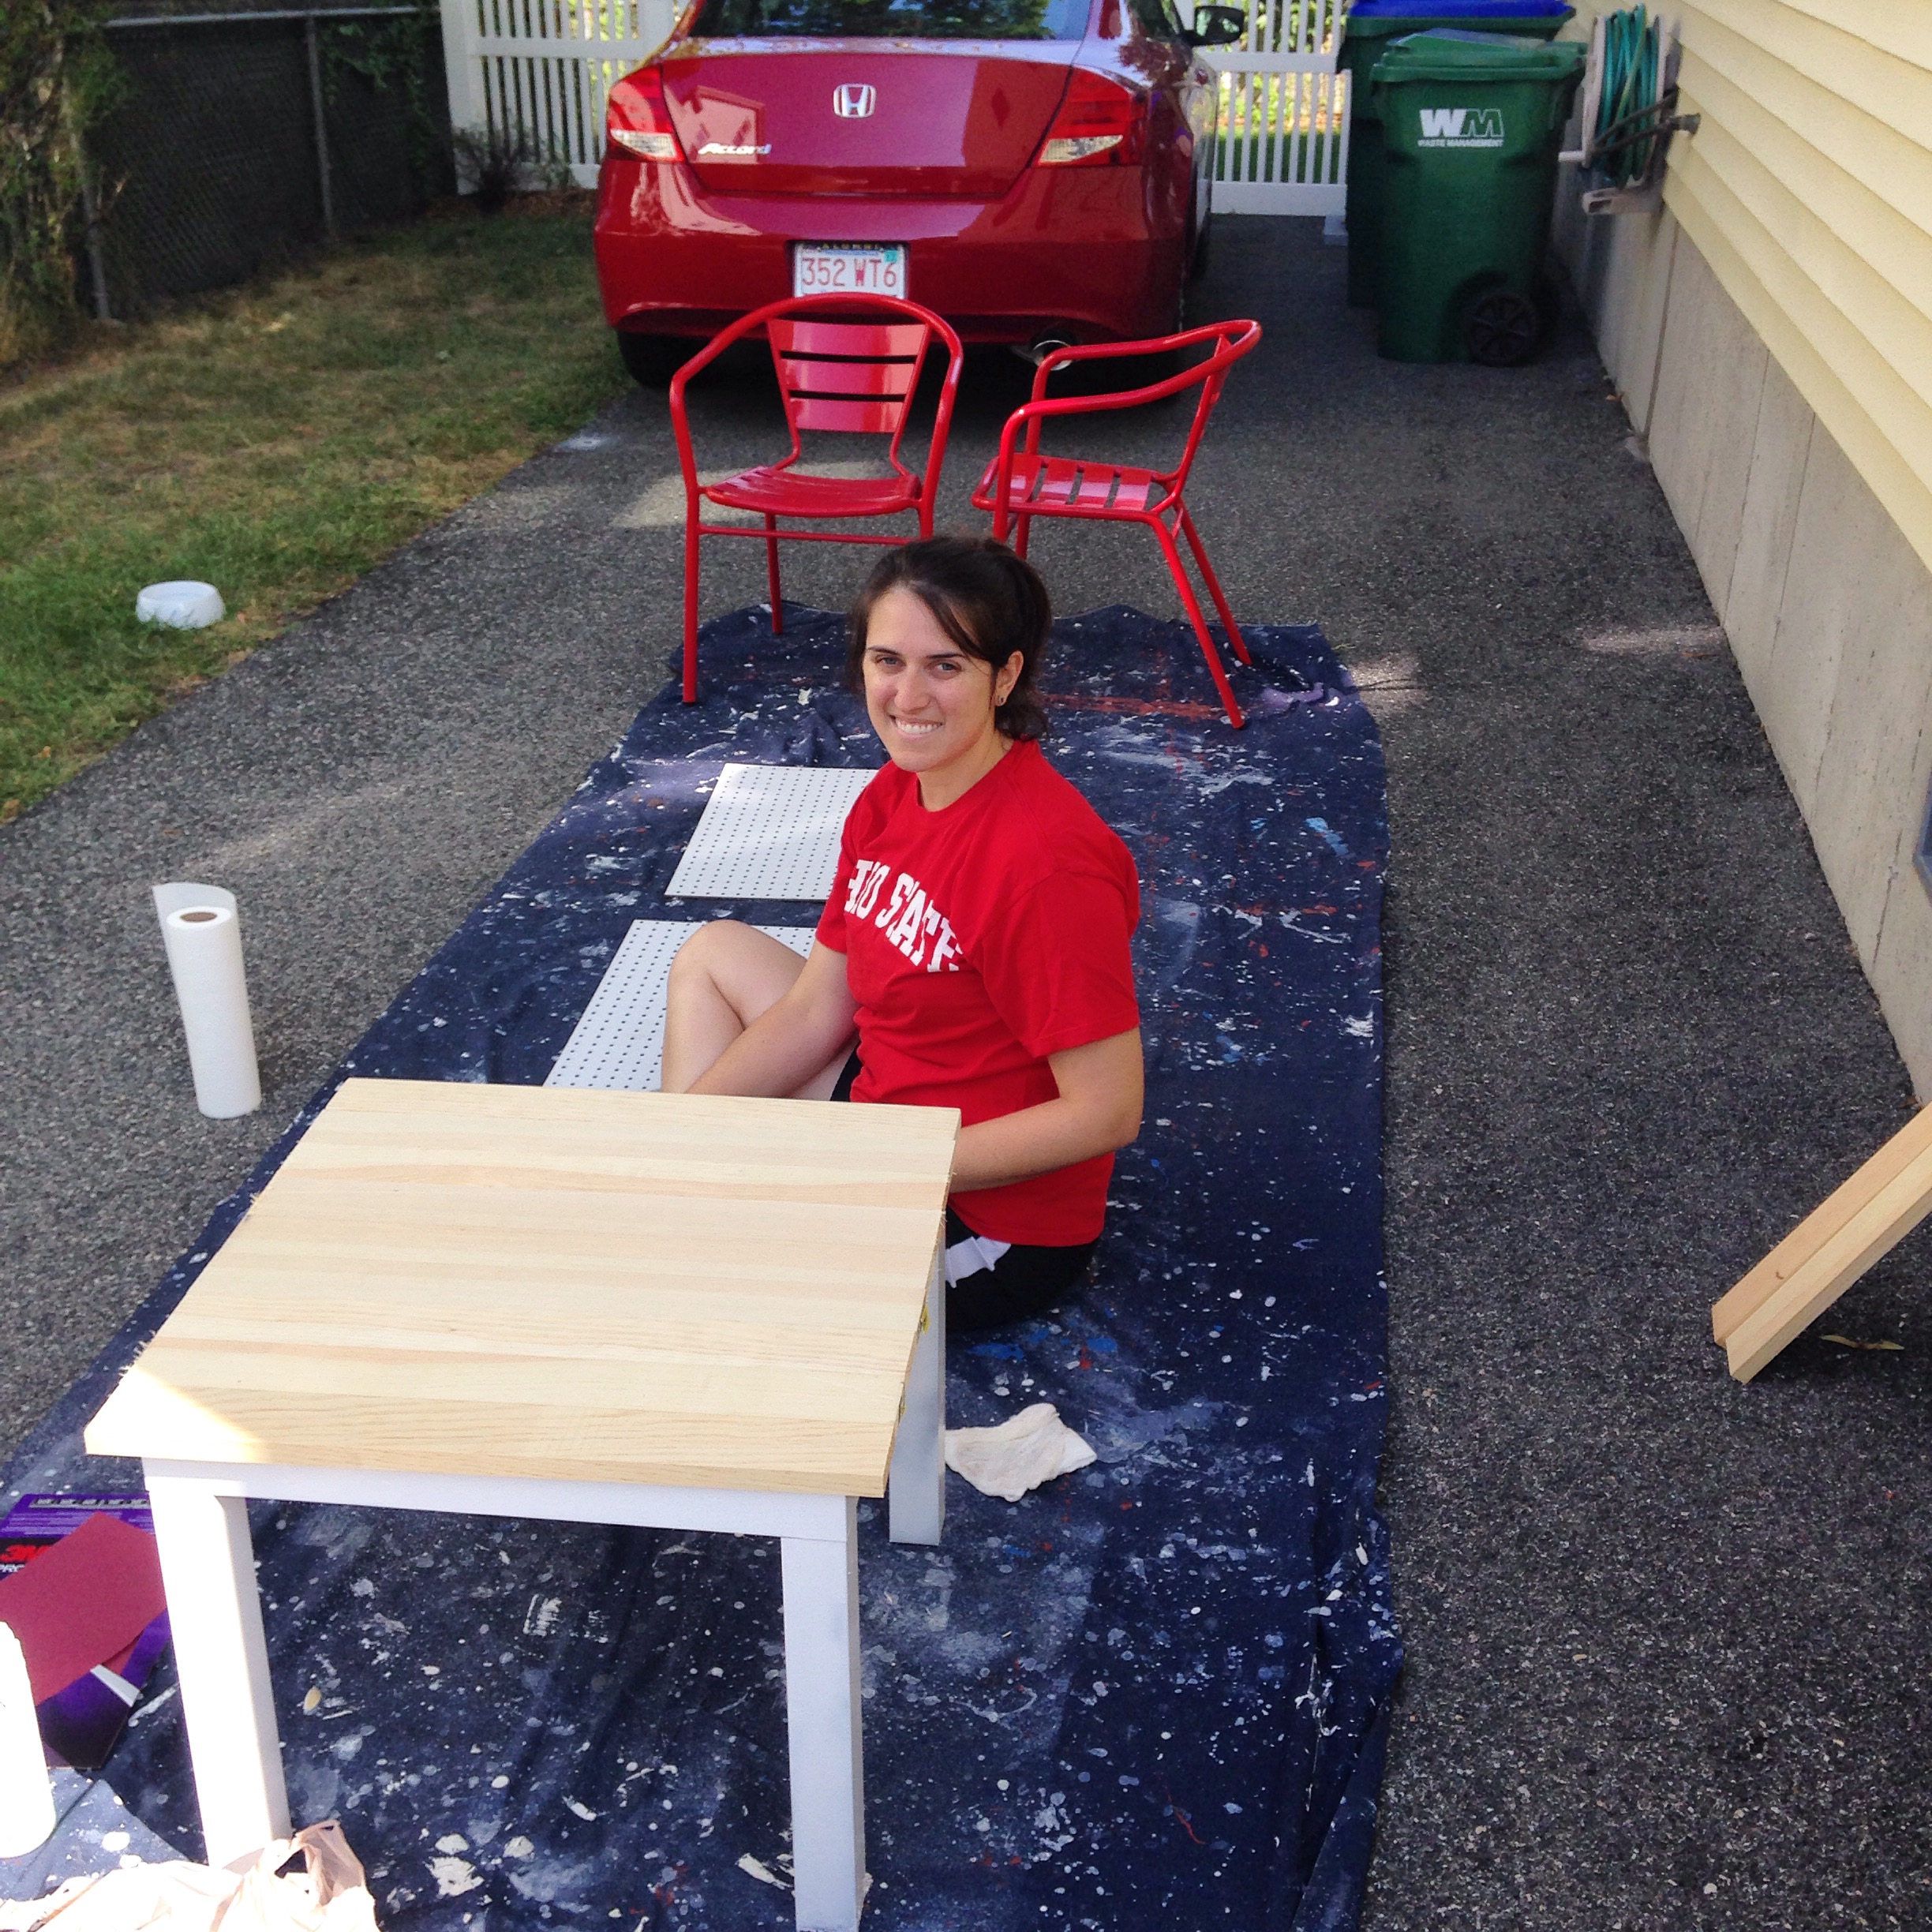
Couple this little Pinterest inspiration with a beautiful September Saturday and I was just grooving in the DIY glory (see below!) - as you can see, I'll have many more posts to share as I complete some other DIY and Pinterest Projects! Tables, Peg boards, Outdoor furniture, Oh MY!
To start, here is the list of things that I needed before I got started.
- One coffee table (again, I used my square ~22"x 22" Lack coffee table)
- One can of Rustoleum 2x Painter's Touch Spray Paint (I used White)
- One drop cloth (mine is about 10' x 20' - you will need a space to spray the table and paint the planks)
- Nine 2.5"x24" wooden planks (I bought two 2.5"x8' planks and one 2.5"x6' planks and had them cut at Home Depot - note Home Depot does not do exact cuts and I actually got 11 planks so I just chose the 9 best ones and didn't have a huge fit if they didn't match exactly - my current mantra: Done is Better than Perfect!)
- Sand paper (I used 120 and 80 grit)
- One can of Varathan Stain + Poly Finish (I used the color Kona)
- One tube of Titebond Wood Glue
- Water and a lint-free wash cloth
- One foam brush for applying the stain
- One 24" ruler
- One Pencil
- A lot of weights (I used boxes of books I still haven't unpacked!)
1) My first step was to clean up the coffee table and spray paint it white (I really didn't like this version of brown-black so I do not have any before pics, my bad!). I made sure to clean it with water and then wipe it dry. Learn from my mistake and really make sure it is dry (otherwise there will be bubbles of water under your spray paint and it's not pretty!)
2) Next I took my pre-cut planks and sanded down the edges (sorry again, no pics, I was on a roll!). The last thing I wanted were my guests or even my own knees and legs to be scratched by my latest creation, so I thoroughly sanded down the edges and also softened the ends of the planks. This took a little bit of time and energy. I'm sure there might be an easier way but I felt the urge to put in some extra elbow grease so I just did it myself, ya know DIY style! :) After each of the planks was finished, I took water and a wash cloth and wiped down each board to remove any dust particles from my sanding step.
3) When the planks dried, I laid them out on my drop cloth and used my foam brush to apply the stain. Again going with the "better done than perfect" mentality, the brush was really easy to work with. I just used smooth strokes on the length of the plank and didn't worry too much about the sides. On the edges I just made sure to make sure it soaked in because the ends seem more porous and needed a little extra love.
4) Next I waited for everything to dry. I'm not a very patient person so I waited the bare minimum but if you have the time and patience it is good to wait overnight before doing the final assembly.
5) Once everything was dried to my preference, I used a ruler and pencil to find the middle of my table and from the middle I made tick marks to each side at 1.25" so that the center board would fit in between. This made a stable base for the rest of the planks to be lined up.
NOTE: When I did this step I made sure to decide which two planks would be on the ends so that I could put my "best foot forward" so you wouldn't see any staining mistakes! Just make note of those two so you don't accidentally glue them in the middle on the next step.
6) The final step is to start gluing the planks to the top of the table. I glued the middle one first (as I had marked that out first). I laid down a squiggly strip of glue for each plank and pressed them firmly next to each other. This step is a little tricky because there can be a little movement with the boards. This can be both good and bad. Good if you need to make small adjustments, which you guessed it, I needed to do. It can be bad if you are on a roll and don't need to make these adjustments so just be mindful as you are pressing down to do so carefully and thoughtfully.
7) For added security, take a ton of books - as I mentioned before I had a bunch in boxes so it was fairly easy - and place them evenly on the top of the planks. I just put them on top of the table to really help the planks adhere to the top of that table.
Once you do this final step, the next thing you have to do is wait! Like really wait, like overnight wait. So just pour yourself a glass of wine because you did it and you can't really celebrate (and use it) until tomorrow but oh man, can you be proud of yourself for making this little IKEA hack! Woohoo!
When I woke up the next morning, I was really hyped to remove the books and see the finished product! Take a look at the after pics and my puppy pal, Penny modeling the coffee table. It's obviously a great table top but also a safe haven for pets :)